Step 2 - Creating Feature Types
Feature types are groups of spatial features or objects. It is entirely at the users discretion as to how these are defined. You should think about how you wish to gain access to the data when defining feature types. In this example you will create a single feature type called Traffic Survey.
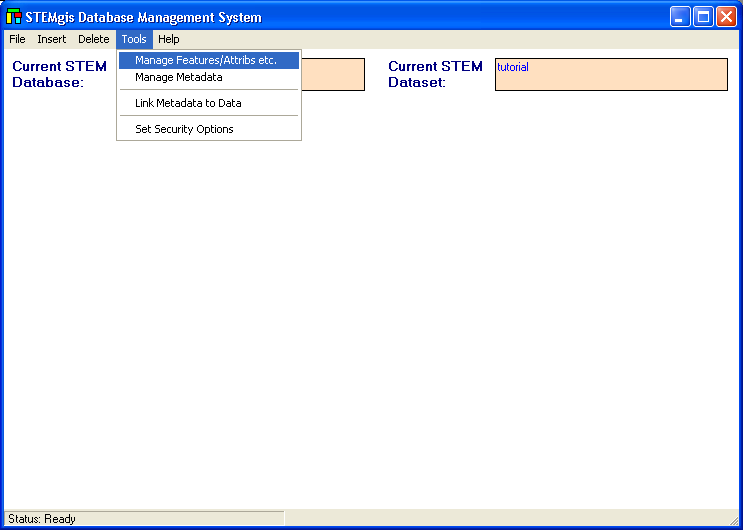
Select Manage Feature/Attribs etc. from the Tools menu.
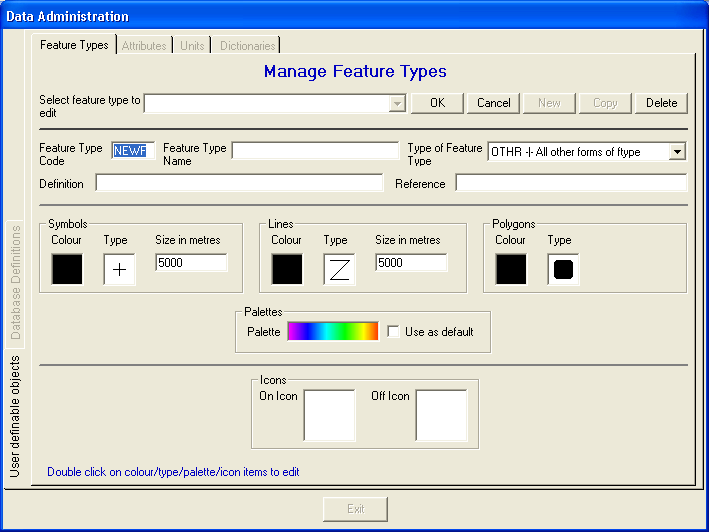
Click on the New button to create a new feature type.
You must now enter some details for the new feature type. Each feature type must have a 4-letter unique code which STEMgis uses internally. In this example use a code of ROAD in the Feature Type Code textbox. This code is used in the two CSV files that you will load later.
In the Feature Type Name text box type - Traffic Survey. This is the name of the feature type as it is displayed to the user.
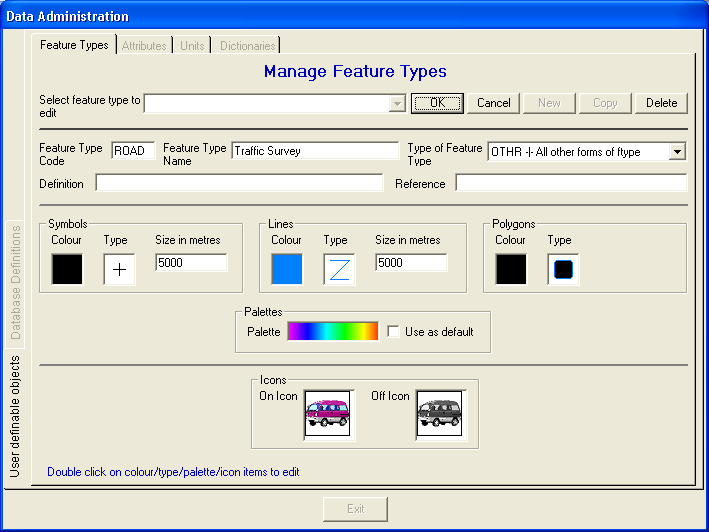
Double-click on the Lines - Colour box to change the default colour of this feature type. Select a blue colour.
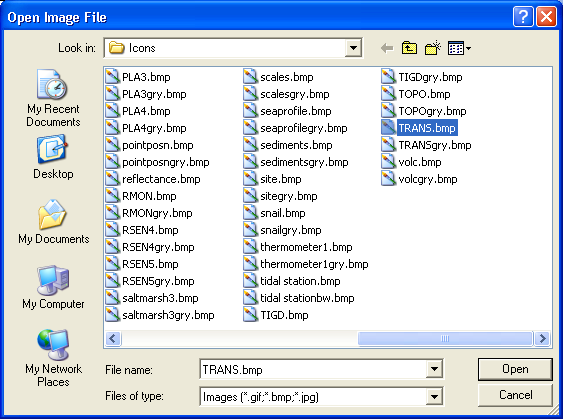
Double-click on the Icons - On Icon box to select an icon for the feature type:
Select TRANS.bmp from the data\icons sub-directory of wherever STEMgis was originally installed e.g. c:\Program Files\Discovery Software\STEMgis. Repeat the above process for the Off Icon, selecting the TRANSgry.bmp file.
The Feature Type form should now look like:
Click on the OK button to enter the new feature type.
| Browser Based Help. Published by chm2web software. |