Step 1 - Creating a STEMgis Database
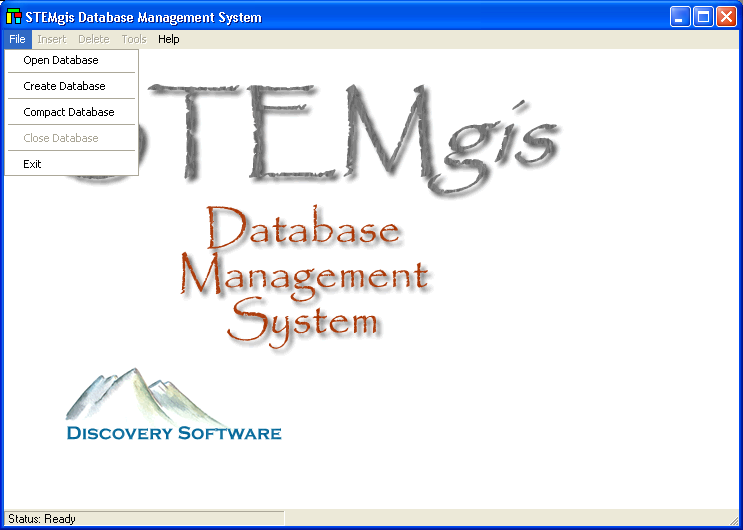
Select Create Database from the File menu.
Enter a new database filename with a .mdb extension, e.g. tutorial.mdb. Click on the Save button.
Note: If you select an existing filename that database will be overwritten and all data will be lost.
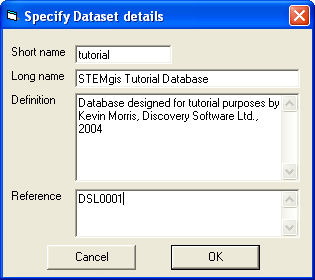
You must then provide some details for the new database. The only essential information required is the short name, which is used to name the tables internally. When you have entered the details click on OK.
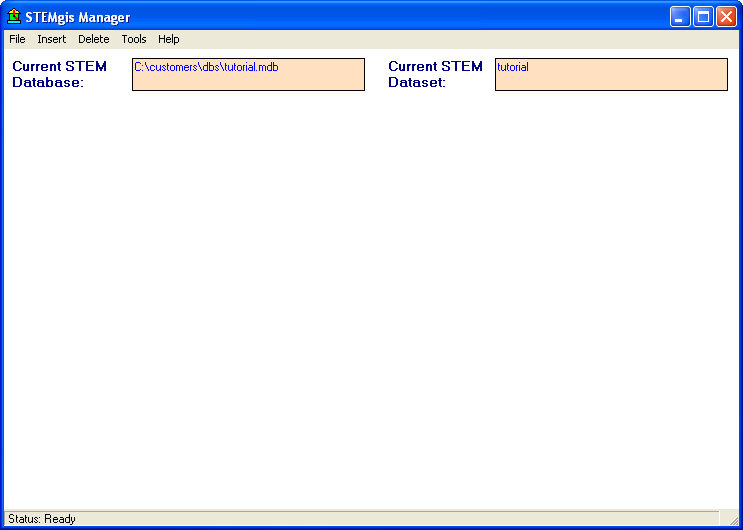
The Manager will now create the new STEMgis database. The process takes a short while during which you may notice messages, appearing in the status bar at the bottom of the main window, detailing the creation of tables, indices and relationships. Once the new database has been created you will see the following screen:
You can now leave the Manager if you wish (File>Exit). To reopen your new database select File>Open Database.
Step 2 - Creating Feature Types
| Browser Based Help. Published by chm2web software. |