Tools Menu
Define/Edit Metadata
Metadata entries can be added or edited using the Metadata item from the Tools Menu. Metadata entries must currently adhere to the UK's National Geospatial Data Framework (NGDF) guidelines (see www.ngdf.org.uk). The metadata forms guide you through the process of adding metadata into the database.
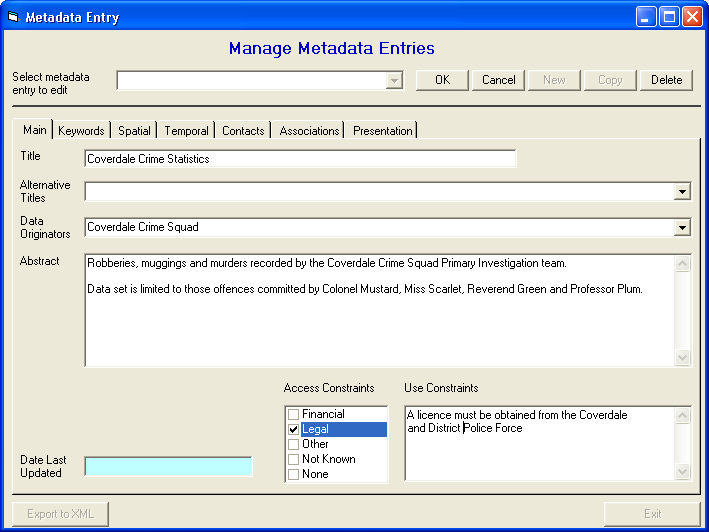
To add a new metadata entry click on the New button, or to edit an existing metadata entry select a metadata title from the drop-down list. You can then enter or modify any of the items which are used to define a NGDF metadata entry. If a new metadata entry is being added, there are a number of fields that are mandatory and a warning will be displayed if any of the mandatory fields are left empty. These are:
The Copy button provides a short cut method for the entry of metadata similar to an existing metadata entry. To use this facility select a metadata title from the drop-down list and click on the Copy button. The selected entry will be duplicated with the metadata title changed to "New Metadata". A new metadata title can be entered and any other entry fields on any of the tabs may be altered. Press the OK button to complete the entry and save all fields under the new metadata title.
To delete a metadata entry first select the entry from the drop-down list and click on the Delete button.
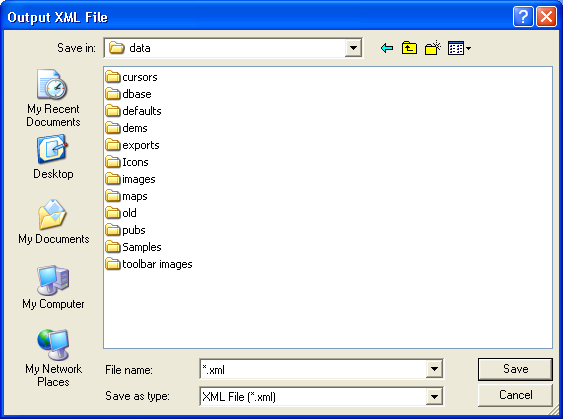
To export metadata in XML format click on the Export to XML button.
The items that may be entered or modified are arranged under a series of tabs. These are:
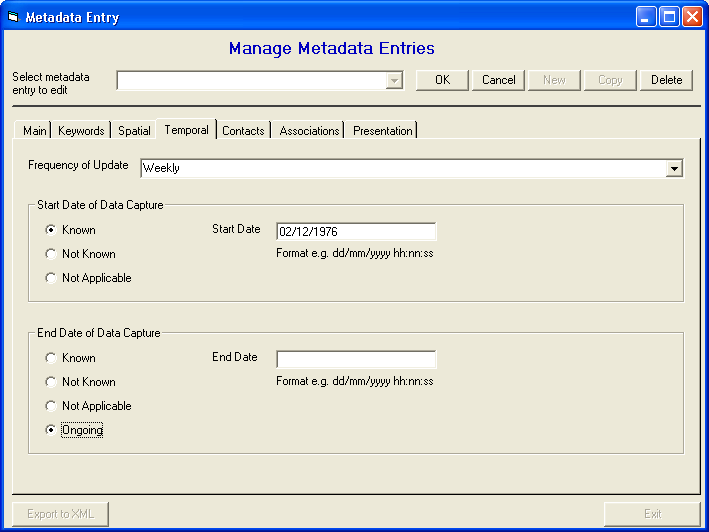
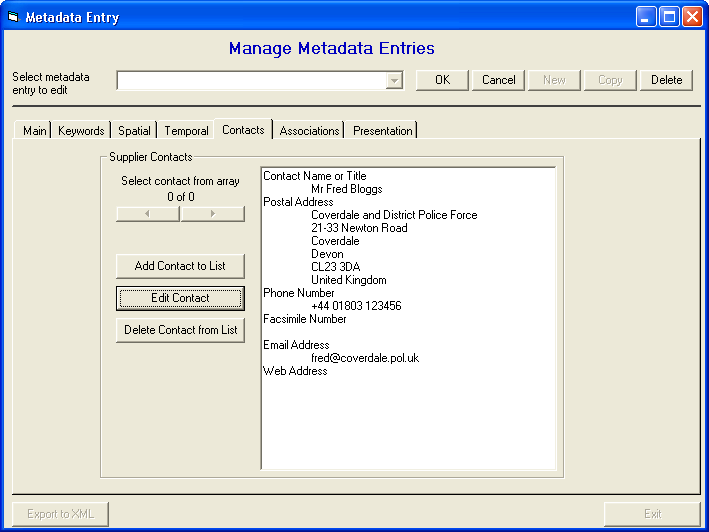
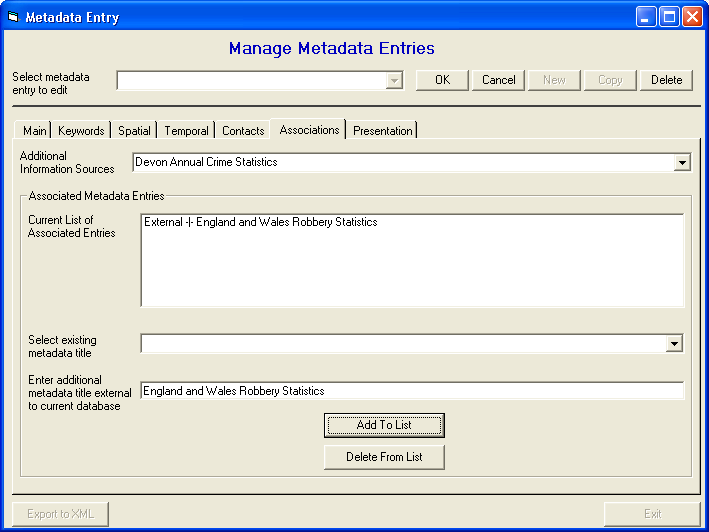
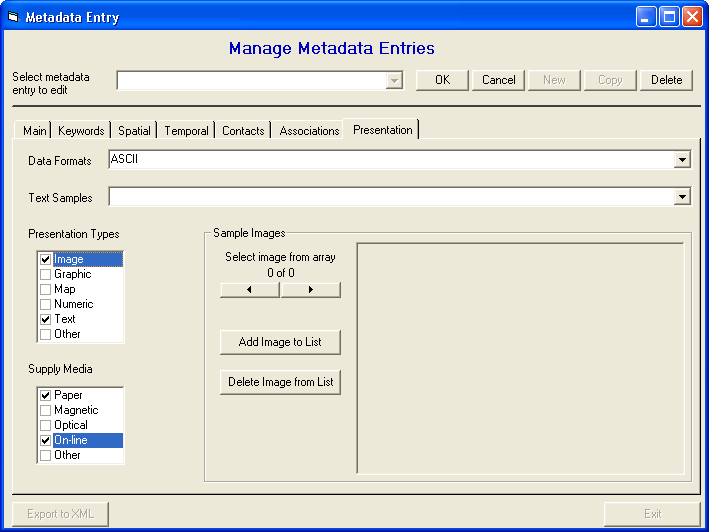
Main, Keywords, Spatial, Associations, Temporal, Contacts, and Presentations
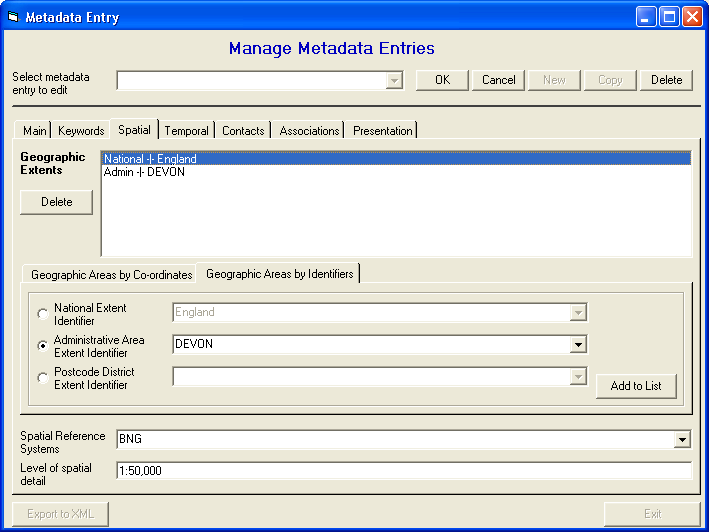
Geographic Extent By Co-ordinates group
- System of spatial referencing by co-ordinates - Name or description of system or systems of spatial referencing by co-ordinates used for the geographic extent (enumerated list).
- West bounding co-ordinate - Westernmost co-ordinate of the limit of the area.
- East bounding co-ordinate - Easternmost co-ordinate of the limit of the area.
- North bounding co-ordinate - Northernmost co-ordinate of the limit of the area.
- South bounding co-ordinate - Southernmost co-ordinate of the limit of the area.
Geographic Extent By Geographic Identifiers group
- National extent - Geographic extent or occurrence of dataset by parts of the United Kingdom (enumerated list).
- Administrative area extent - Geographic extent or occurrence of dataset by administrative area.
- Postcode district extent - Geographic extent or occurrence of dataset by postcode district.
These items are available on the various tabs in the metadata form. Once you have completed the forms click on the OK button to enter or update the metadata entry. You will be warned if any of the mandatory items have not been completed.
The currently selected metadata entry can be exported in XML format by clicking on the Export to XML button, and then in the Output XML File dialog box selecting a sub-directory, entering a filename and clicking the Save button.
| Browser Based Help. Published by chm2web software. |